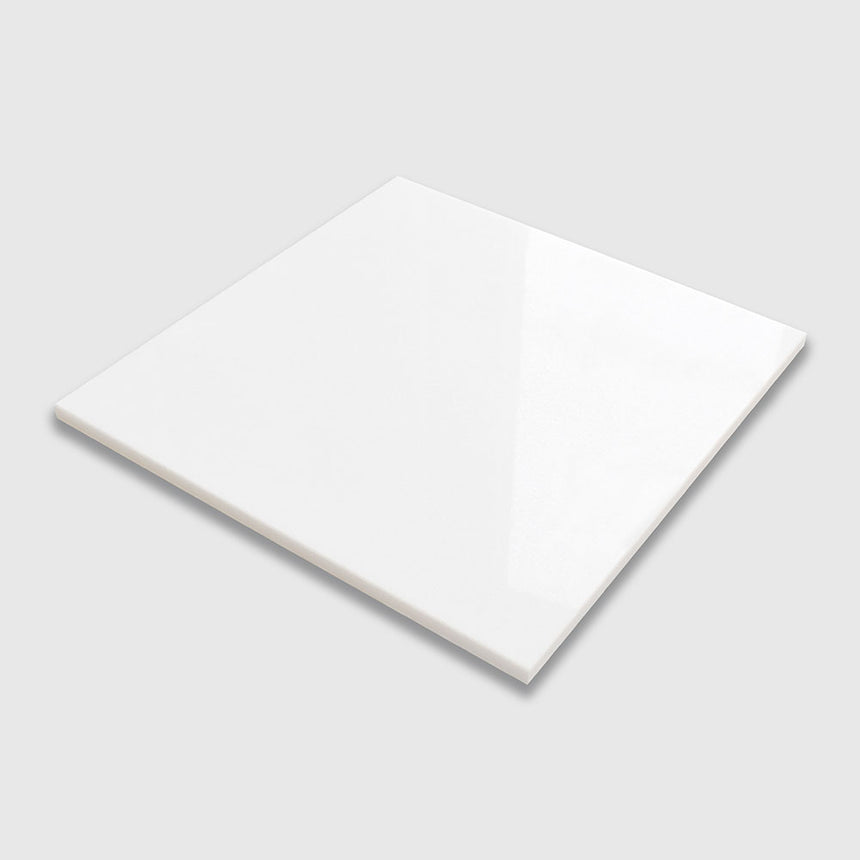
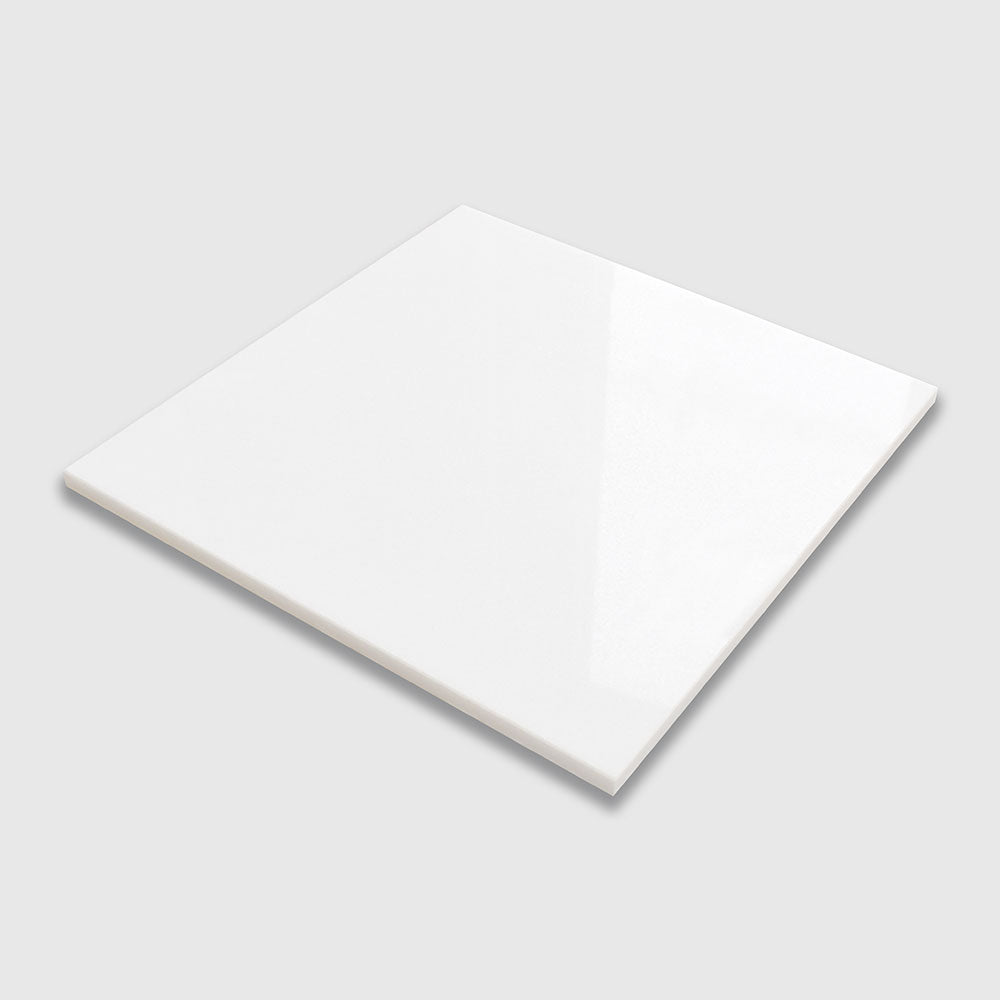
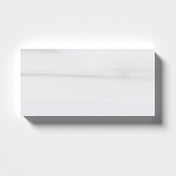
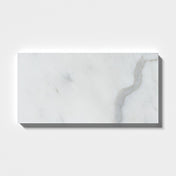
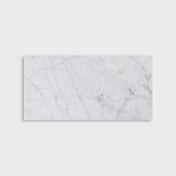
Thassos Marble Tile 600x600x20mm
Thassos Marble Tile 600x600x20mm - Honed Finish est en rupture de stock et sera expédié dès qu’il sera de retour en stock.
Care information
Care information
Display general product information or specific product information using metafields.
Delivery and Shipping
Delivery and Shipping
Add some general information about your delivery and shipping policies.
Natural stones are products
of nature, and no two pieces are exactly alike.
Description
Description
Thassos Marble Tile 600x600x20mm: Grand Elegance, Amplified
Experience unmatched elegance and sophistication with our Thassos Marble Tile in the breathtaking 600x600x20mm dimensions.
Key Features
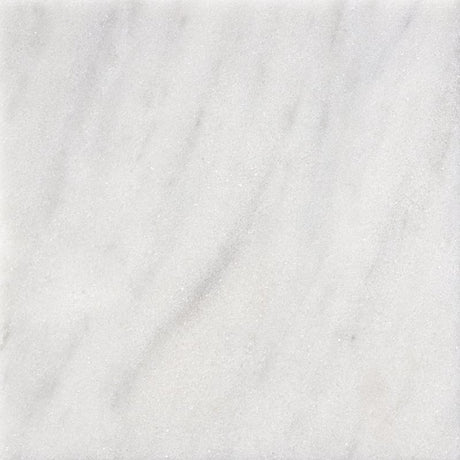
- Pure White Luxury: Thassos Marble is renowned for its immaculate, pure white appearance.
- Monumental Dimensions: With 600x600x20mm size, these tiles offer grandiosity like no other.
- Robust Thickness: A 20mm thickness ensures durability and longevity.
🎨 The Essence of Thassos Marble
Thassos Marble is your ticket to a world of pure and transcendent beauty, offering a canvas for all design aspirations from the minimalist to the opulent.
📏 Specifications and 🌹 Benefits
| 🌟 Specification | 🌈 Detailed Description | 💖 Unmatched Benefits |
|---|---|---|
| 🗿 Material | Thassos Marble | 🌸 Pure, Ethereal Beauty |
| 🎨 Color Palette | Pure White | 💍 Classic Sophistication |
| 🌈 Finish | Polished and Honed available | 🎡 Flexible Styling |
| 📐 Tile Size | 600x600x20mm | 🌈 Grandiose Scale |
| 📏 Thickness | 20mm | 🏰 Built to Last |
Product Applications
- Luxe Flooring: Ideal for expansive, luxurious spaces.
- Wall Accents: Make a statement with stunning feature walls.
- Custom Installations: These tiles are versatile enough for any bespoke project.
Ordering & Delivery
- Pricing: Contact us for tailored pricing information.
- Delivery: Offering nationwide and international shipping options that suit your requirements.
SKU: THASSOS-600X600X20
Create spaces that speak volumes about your taste and elegance with our Thassos Marble Tile in 600x600x20mm dimensions.
Avis (0)
Avis (0)
Natural Variation - Disclaimer
Natural Variation - Disclaimer
Unique Beauty in Every Piece: A Note on Our Natural Stones
At LUTM, we take great pride in offering an extensive range of natural stones, each with its own unique variations that make it a one-of-a-kind masterpiece. While we strive to provide accurate photographs and samples to give you an idea of what to expect, we want to make it clear that these resources cannot fully capture the natural variations that are inherent to each piece of stone.
Why the Variation?
Natural stones are products of nature's artistry, meaning that no two pieces are exactly alike. These unique characteristics include variations in color, veining, and movement that contribute to the stone's distinct beauty. While we use coding systems to categorize these variations as much as possible, there will always be differences that photographs or samples simply cannot capture.
Before Installation: Important Steps to Follow
We recommend that all stone should be unpacked and inspected prior to installation. By doing so, you'll be able to appreciate the unique characteristics of each piece and ensure it meets your expectations.
Disclaimer
Please note that the natural variations in the stones are not defects but rather what makes each piece unique and beautiful. Our return and exchange policies are crafted with this in mind. Make sure to review these policies carefully before making your purchase.
Your Satisfaction, Our Priority
Your satisfaction is important to us. If you have any concerns or questions about the natural stone you've received, please don't hesitate to contact our customer service team. We're here to assist you every step of the way, from selection to installation.
Installation Guide
Installation Guide
LUTM's Ultimate Guide to Marble Tile Installation
Achieve a seamless and luxurious marble floor with our comprehensive guide. We walk you through every step to ensure your tile installation is a success.
Step 1: Surface Preparation
Do's and Don'ts:
- Clean Surface: Make sure the surface is free from grease, soap scum, and other debris.
- Material Mixing: Mix only enough adhesive or mortar for 30 minutes of use.
- Shade Variation: Since marble tiles vary in shade, mix tiles from multiple boxes for a uniform look.
- Material Check: Confirm you have enough tiles before starting the installation.
🚨 Disclaimer: LUTM is not responsible for any claims arising from this guide. We strongly recommend hiring a professional marble installer and using premium setting materials.
Step 2: Layout
Mark the center points of the walls and snap chalk lines to divide the room into smaller grids. Ensure your lines are square and adjust if necessary.
Step 3: Applying Adhesive
Use quality thin-set like Mapei or Laticrete. Follow package instructions and cover one grid at a time.
Step 4: Cutting Tile
Measure and mark tiles before cutting. For curved cuts, use a rod saw or tile nippers.
Step 5: Setting Tile
Start from the center grid and work outward. Use a slight twisting motion for setting each tile. Use tile spacers to maintain uniform joints.
Step 6: Grouting Joints
Wait at least 24 hours after tile setting before grouting. For travertine tiles, use a grout release before grouting for easy cleaning.
🚨 Disclaimer: LUTM is not responsible for any claims arising from this guide. Always use professional installers and premium setting materials.
Payment & Security
Payment methods
Your payment information is processed securely. We do not store credit card details nor have access to your credit card information.


